Skip to content
About
Contact Us
Privacy Policy
Facebook
Instagram
Pinterest
My Favorite Recipe
All Recipes
Expand
Breakfast
Lunch
Dinner
Sides
Dessert
Summer
Fall
Expand
Halloween
Winter
Expand
Valentine’s Day
Christmas
Search
Search
Menu
Toggle Menu
Sweet and Simple: Quick Valentine’s Day Recipes to Swoon Over
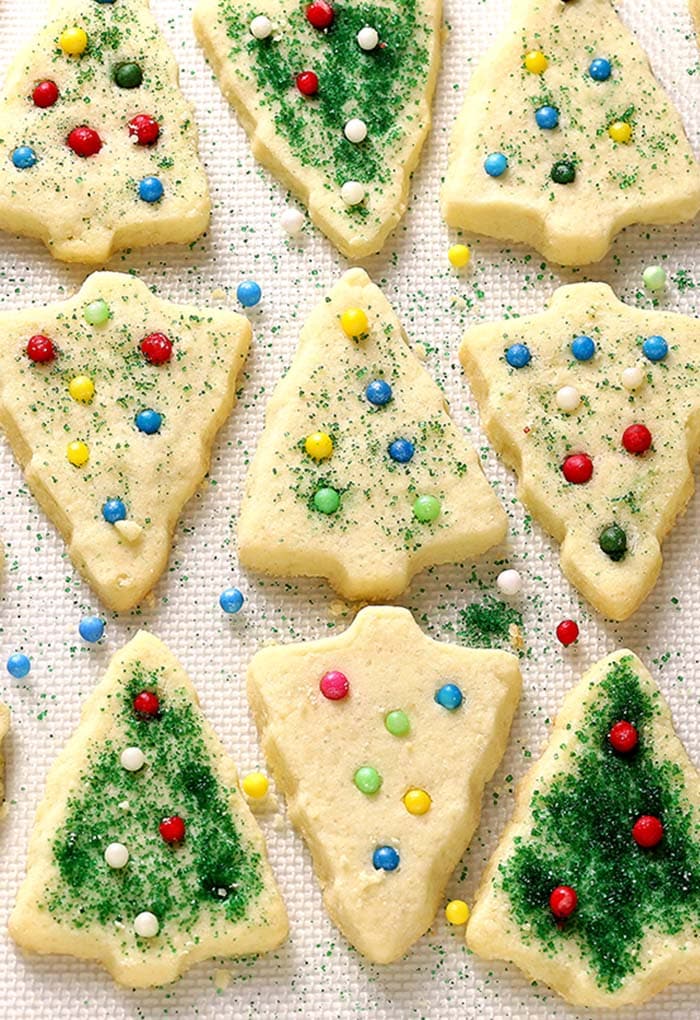
5 Traditional Christmas Cookie Recipes From Grandma’s Kitchen
9 Kid-Friendly Holiday Recipes That Are Easy and Fun
10 Classic Comfort Foods for a Cozy Christmas
Easy Semi-Homemade Fall Recipes to Warm Your Belly
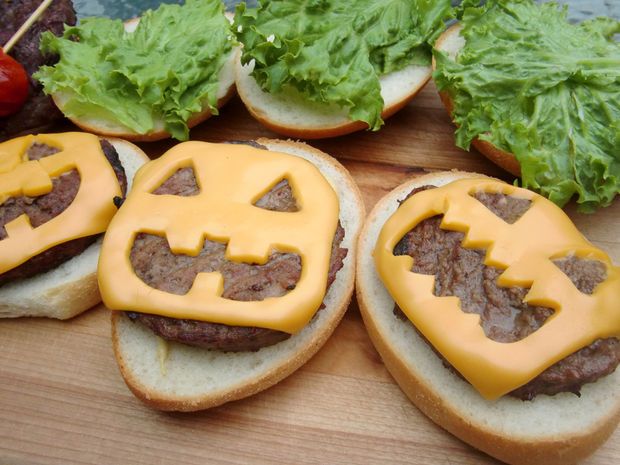
10 Spooky Halloween BBQ Ideas
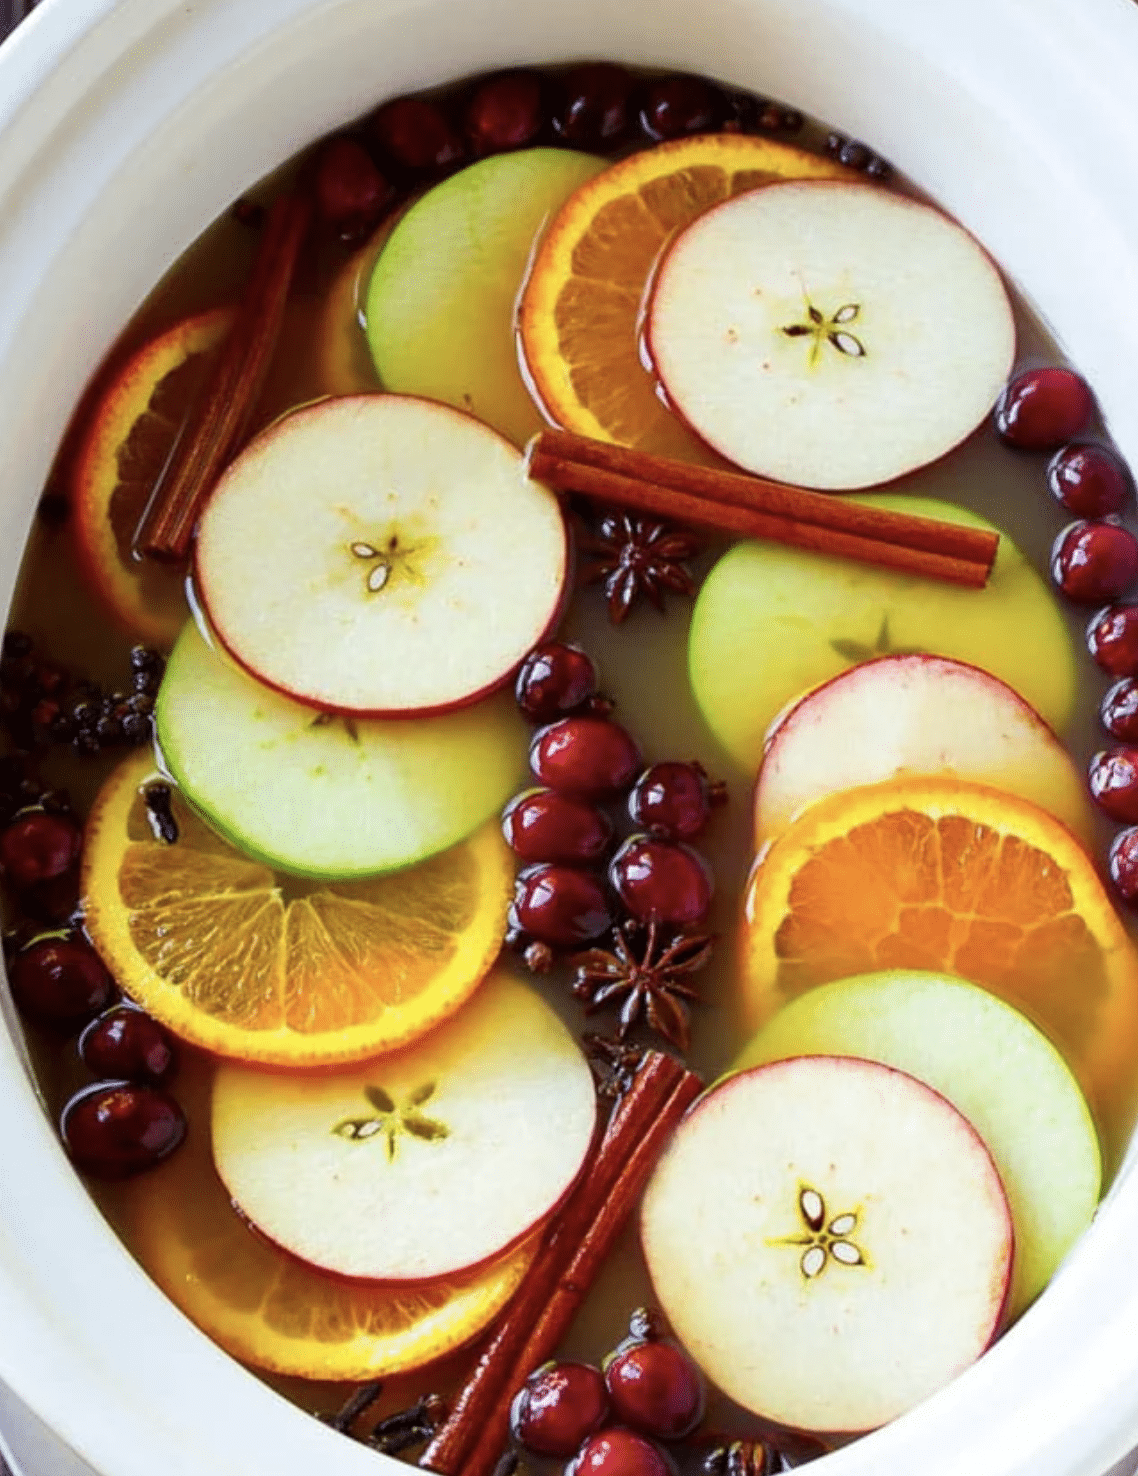
8 Of The Best Slow Cooker Apple Recipes for Fall
Sausage, Egg & Cheese Breakfast Sliders (Recipe)
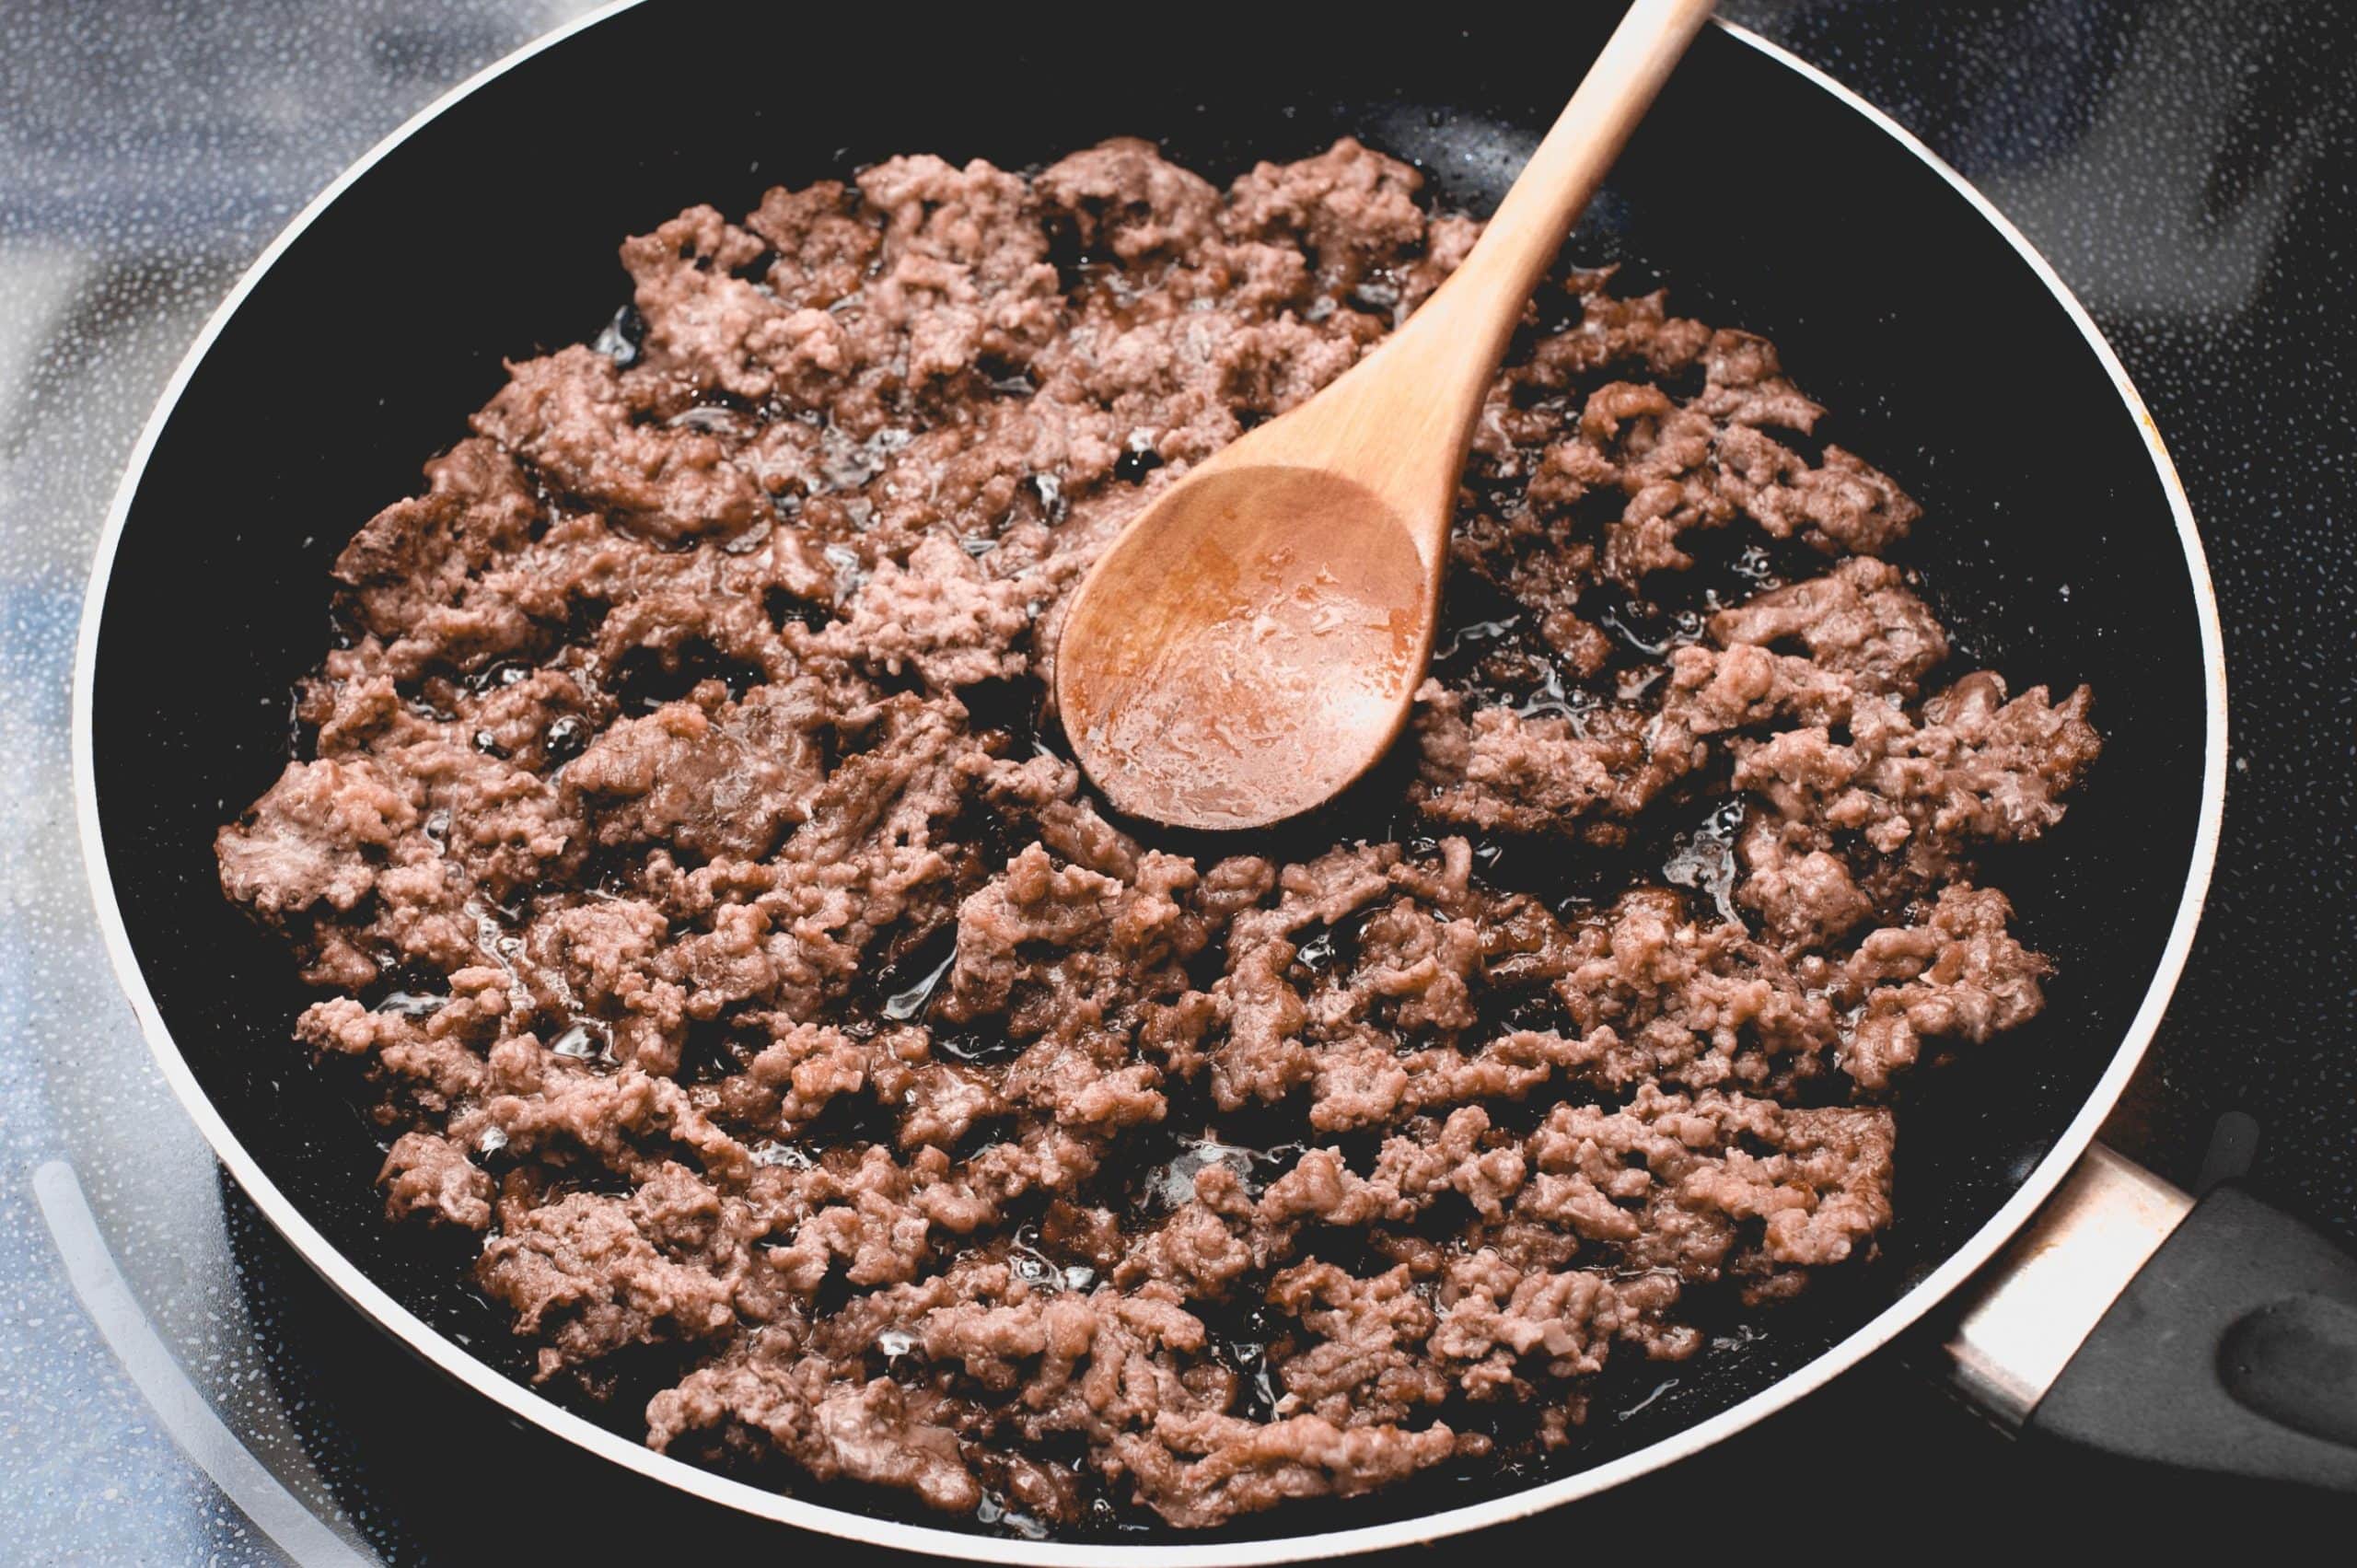
How Long Does Cooked Ground Beef Last?
Easy To Make Pineapple Pretzel Fluff Dip
Big List of 27 Rainbow Dessert Recipes
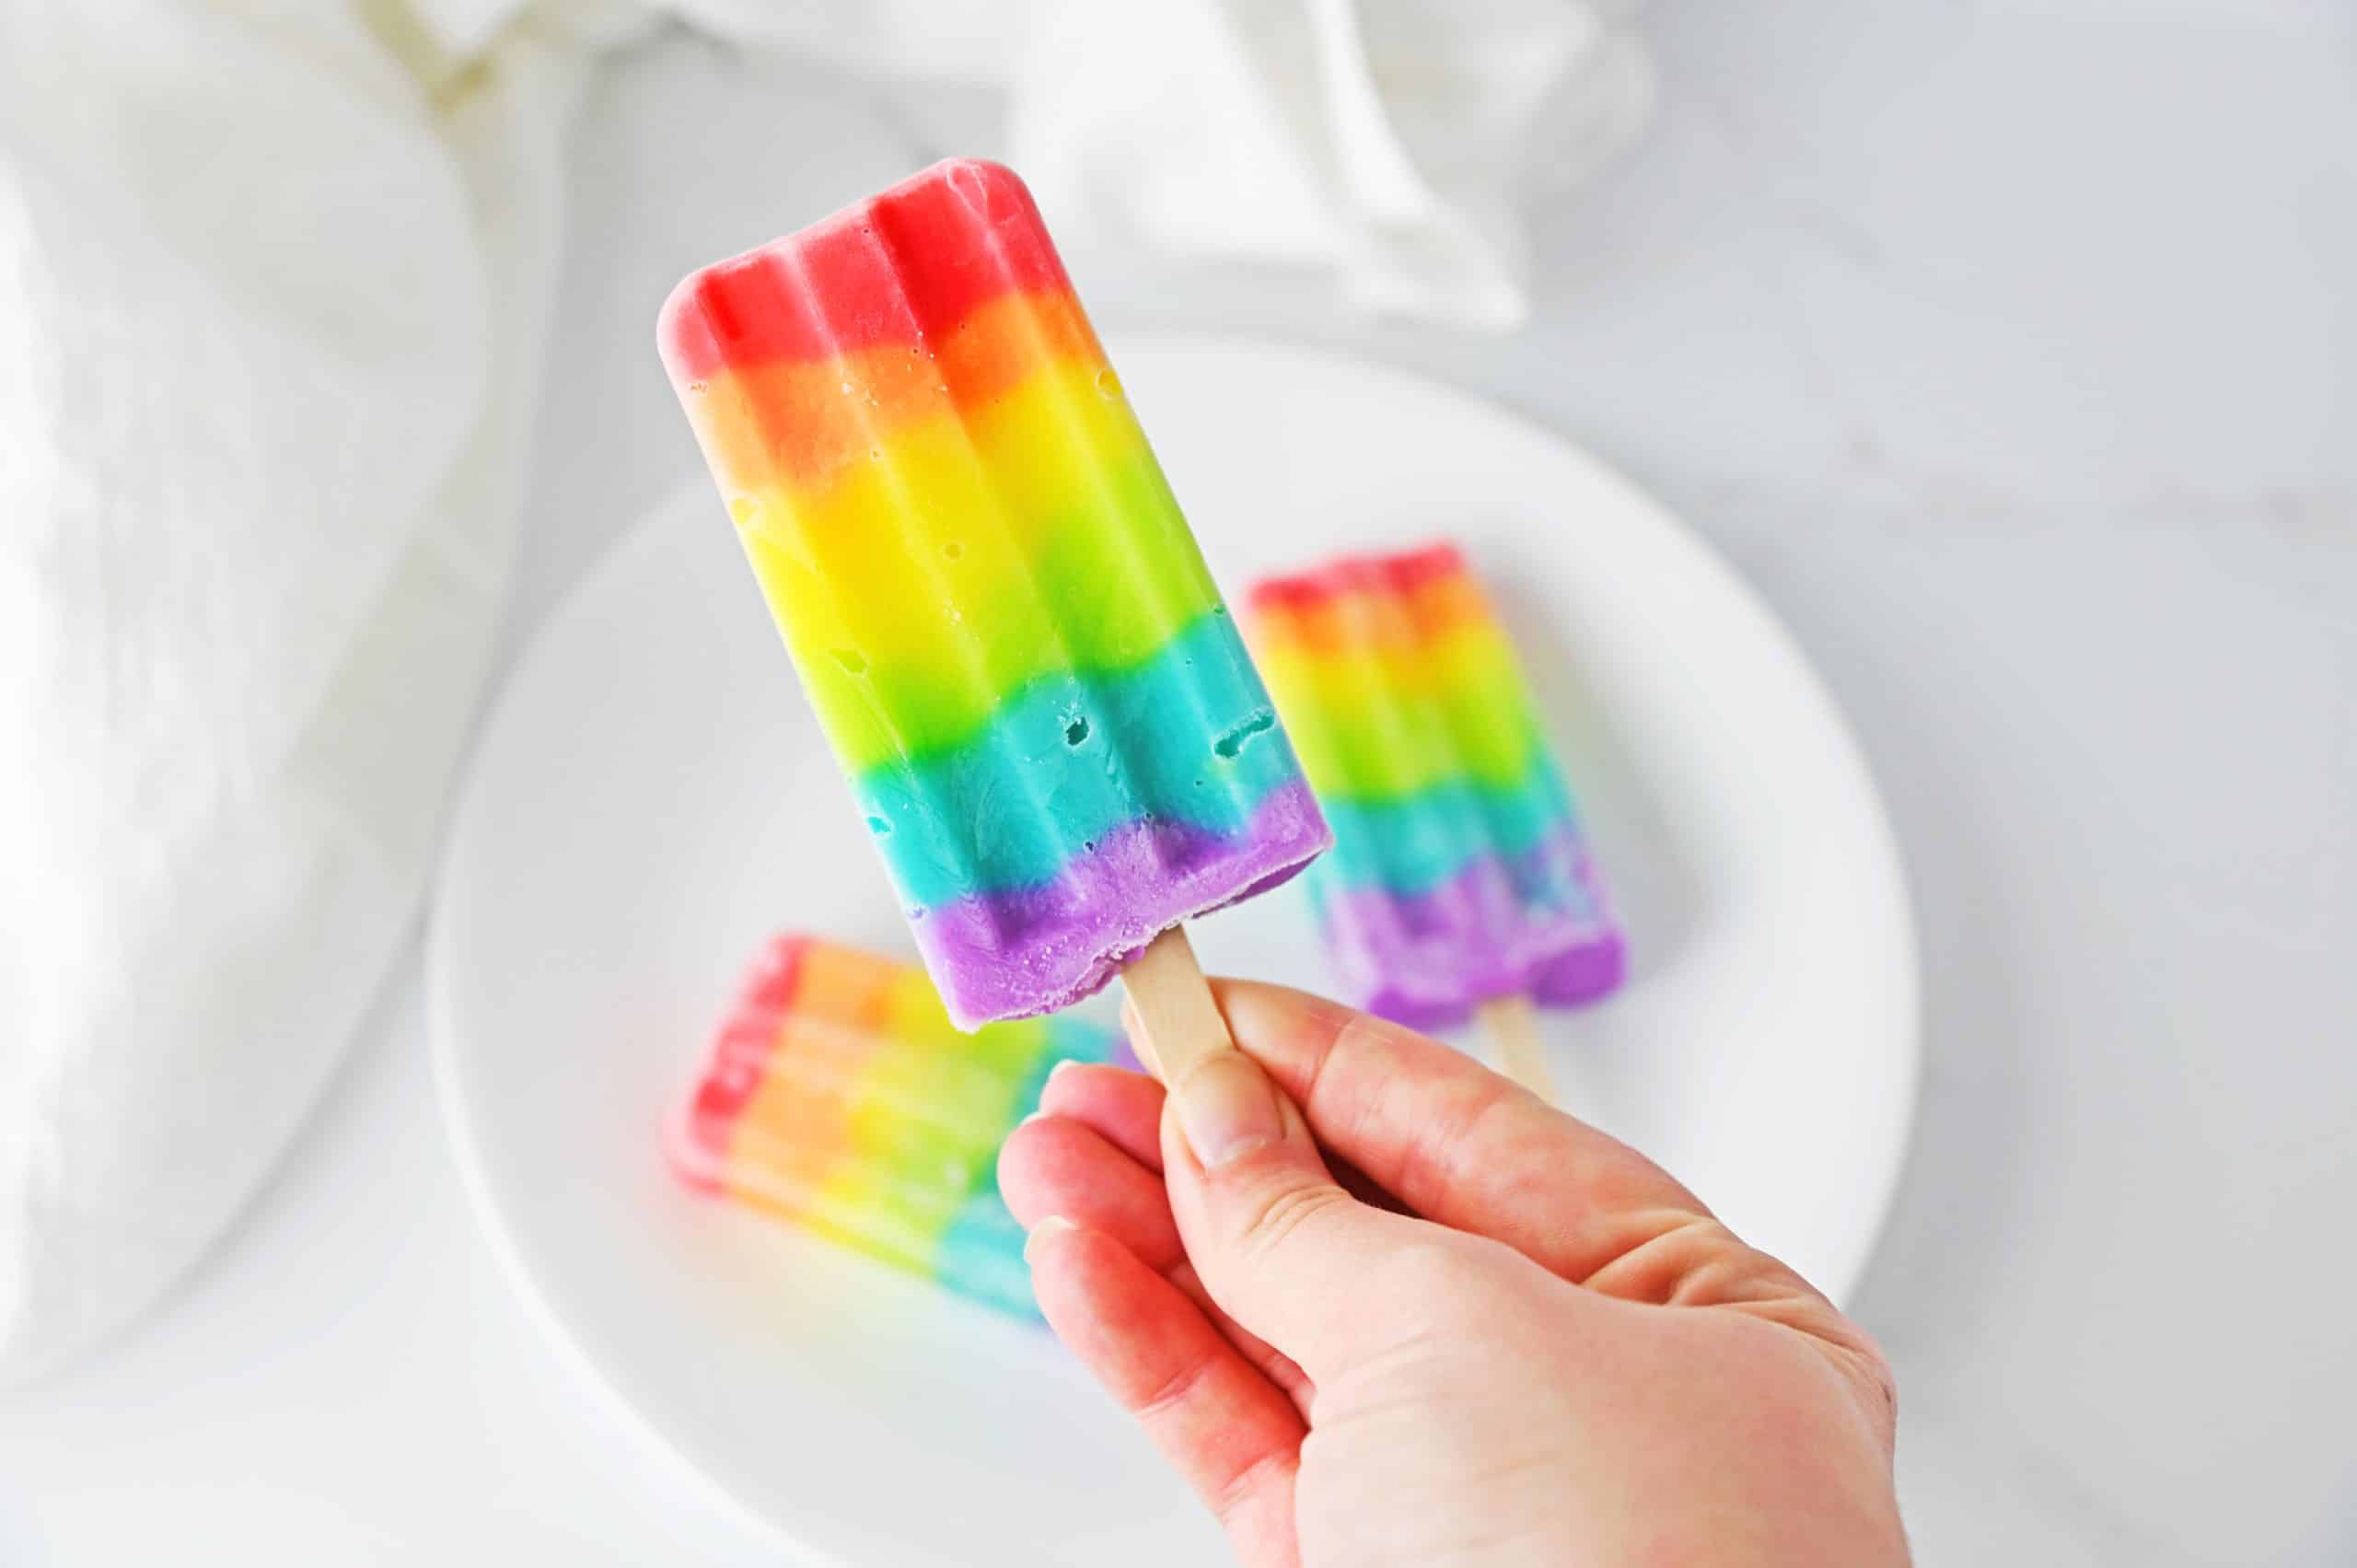
Delicious Rainbow Pudding Pops Recipe
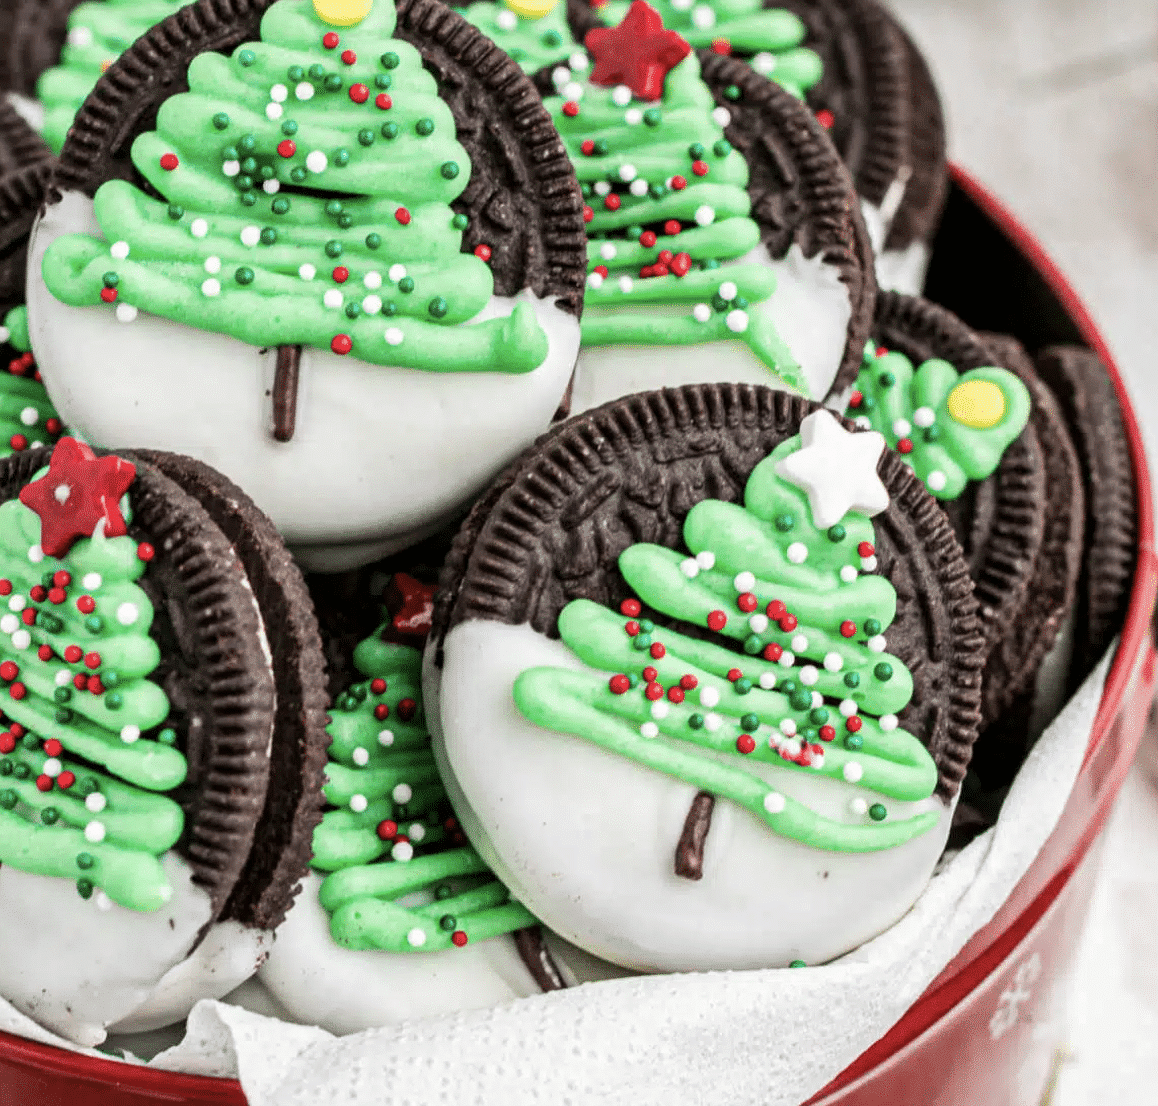
8 Top Christmas Dessert Recipes for a Festive Holiday
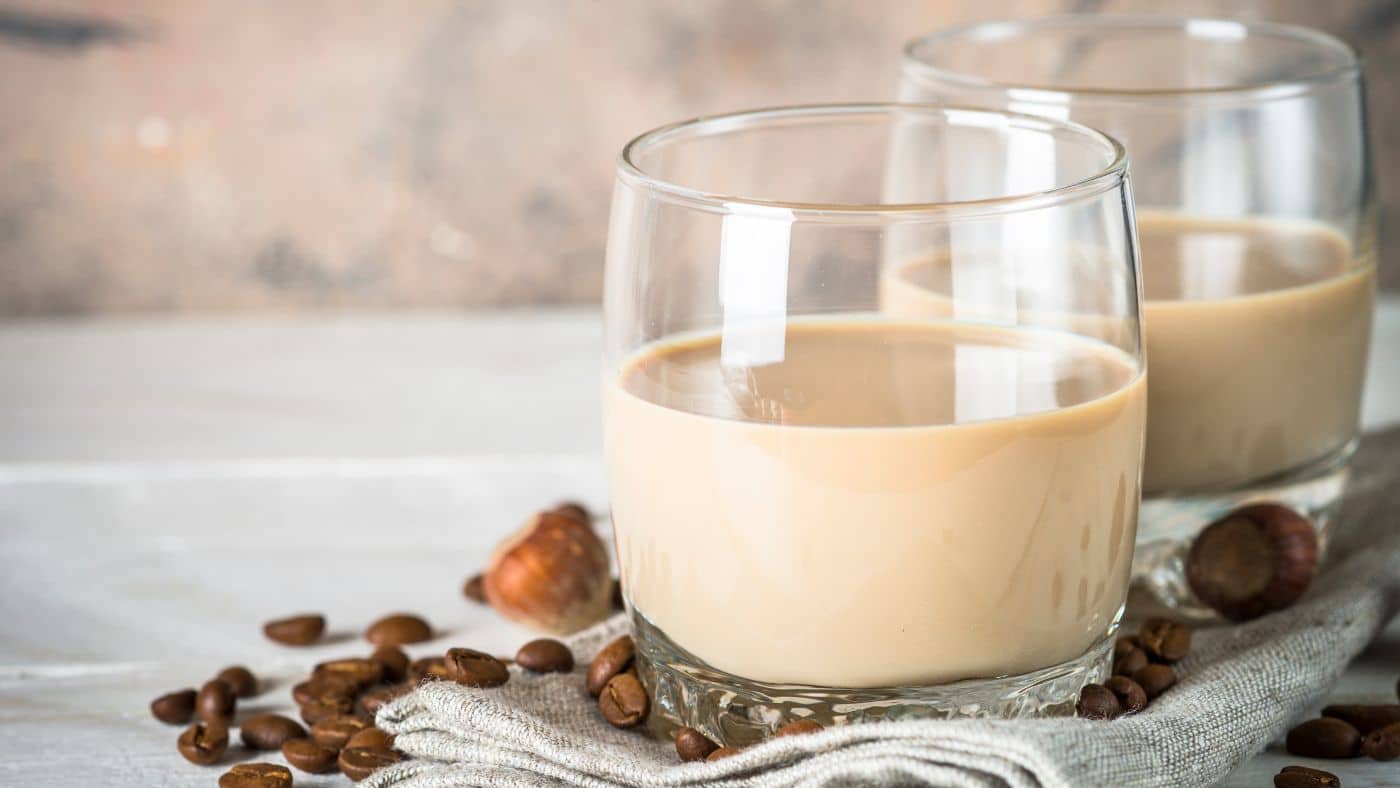
15 Dessert Cocktails to Have After Dinner
Does Chocolate Syrup Go Bad?
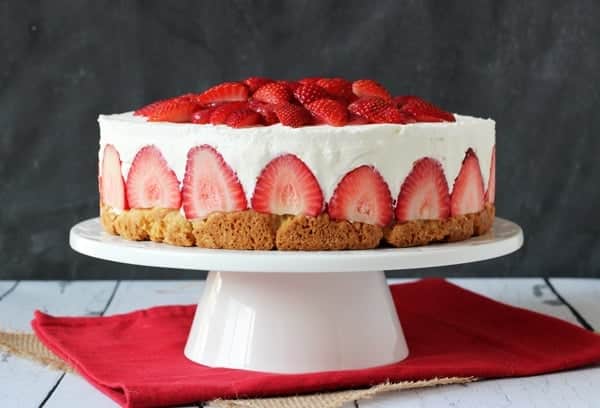
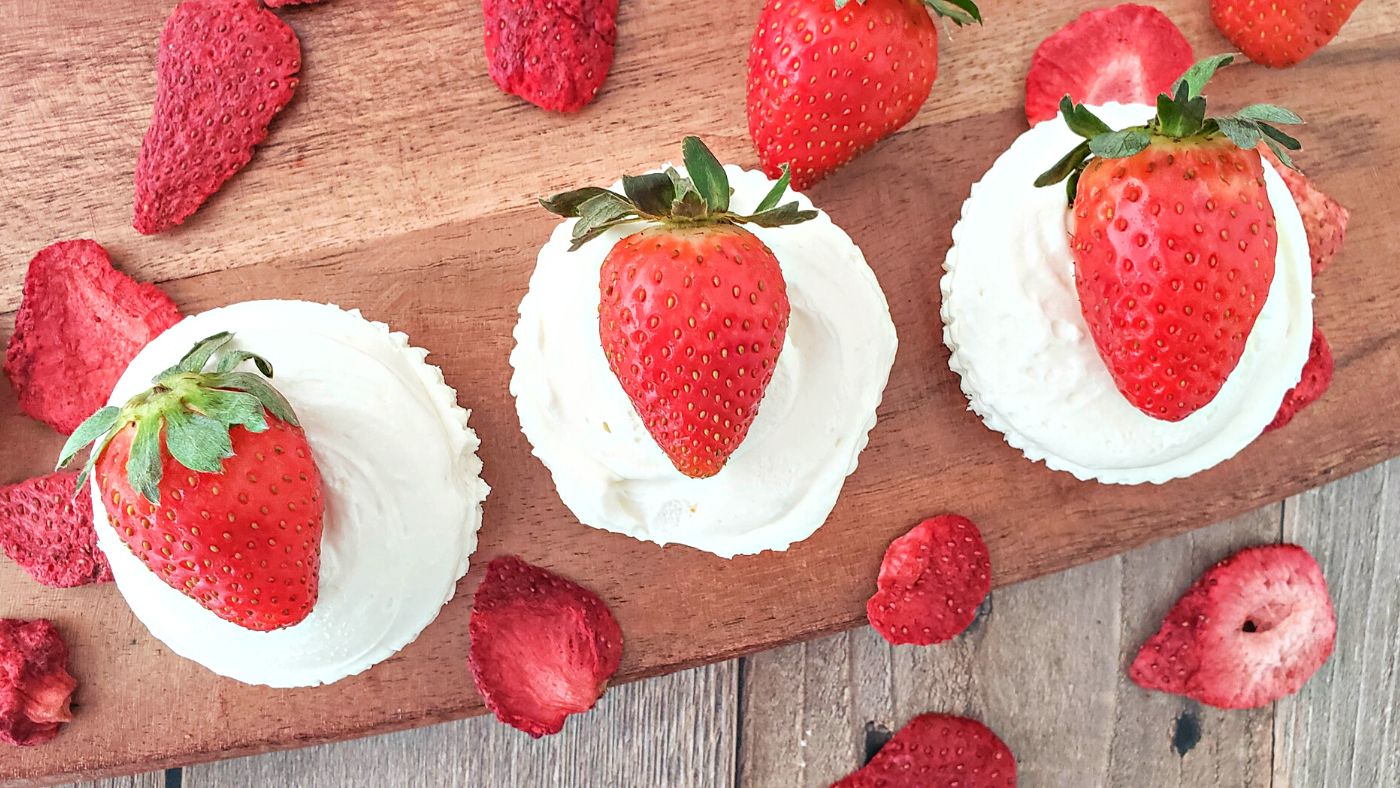
8 Simple Strawberry Cheesecake Dishes You’ll Love
Easy Mini Strawberry Cheesecake Bite Recipe
What Is Freeze-Dried Food? Find Out Now!
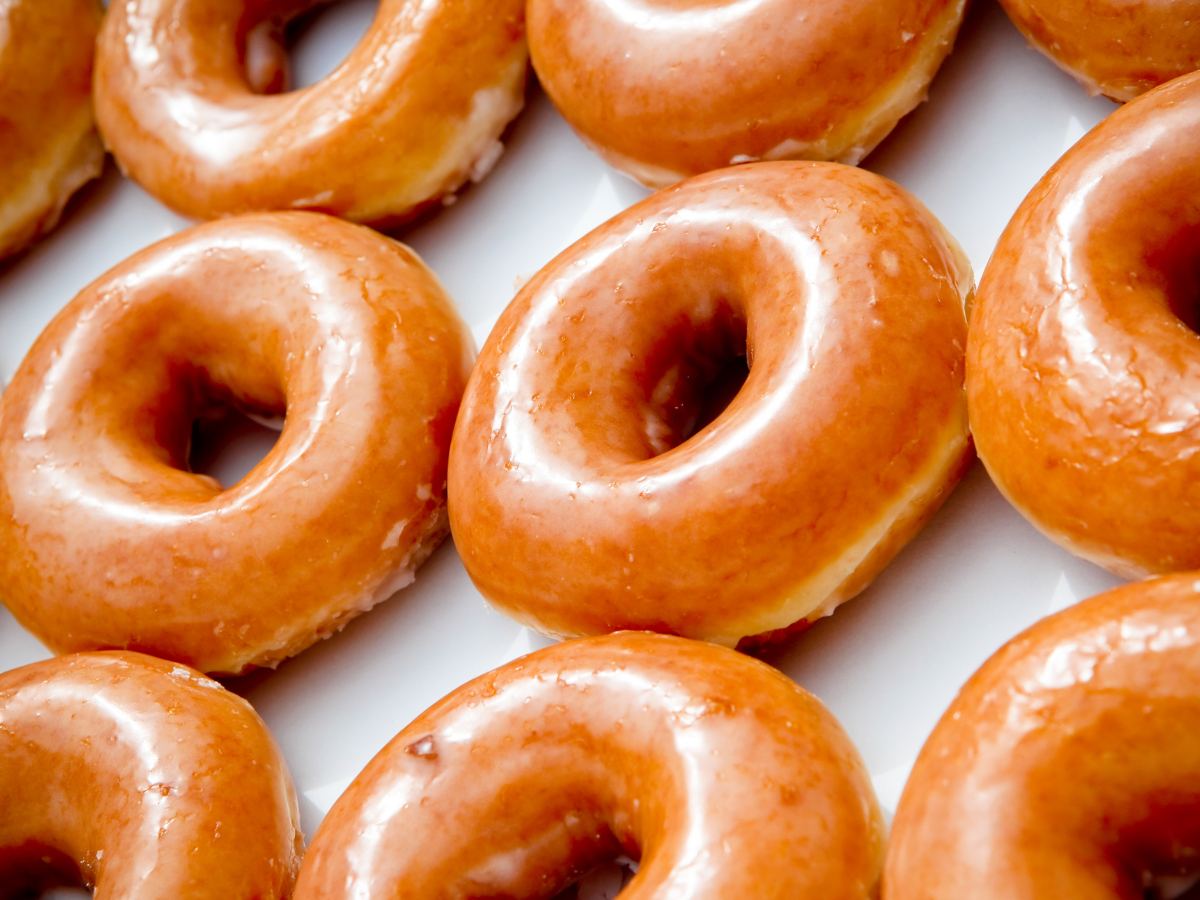
Easy Ways to Thicken A Glaze
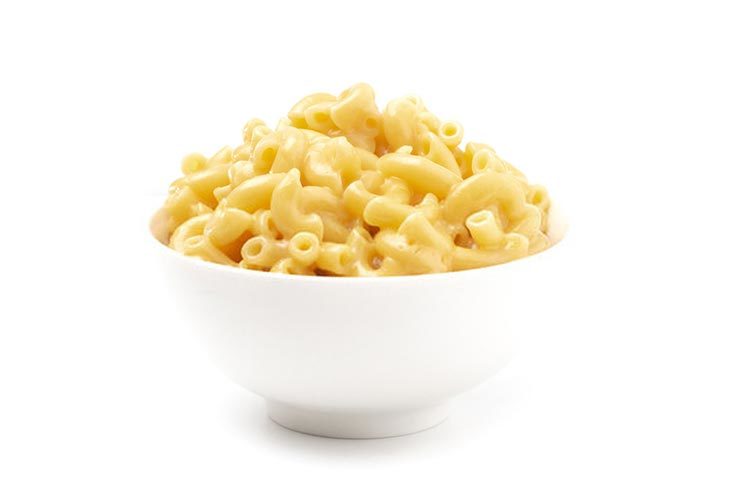
Recipes for Frugal Meals (Easy + Quick)
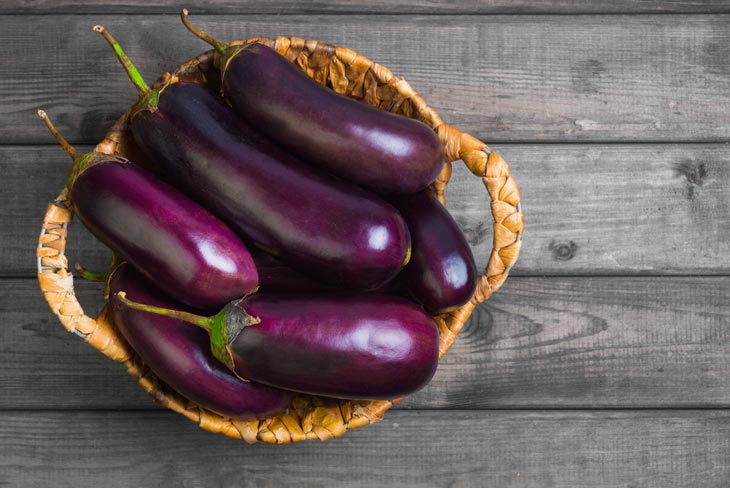
Top Eggplant Substitutes
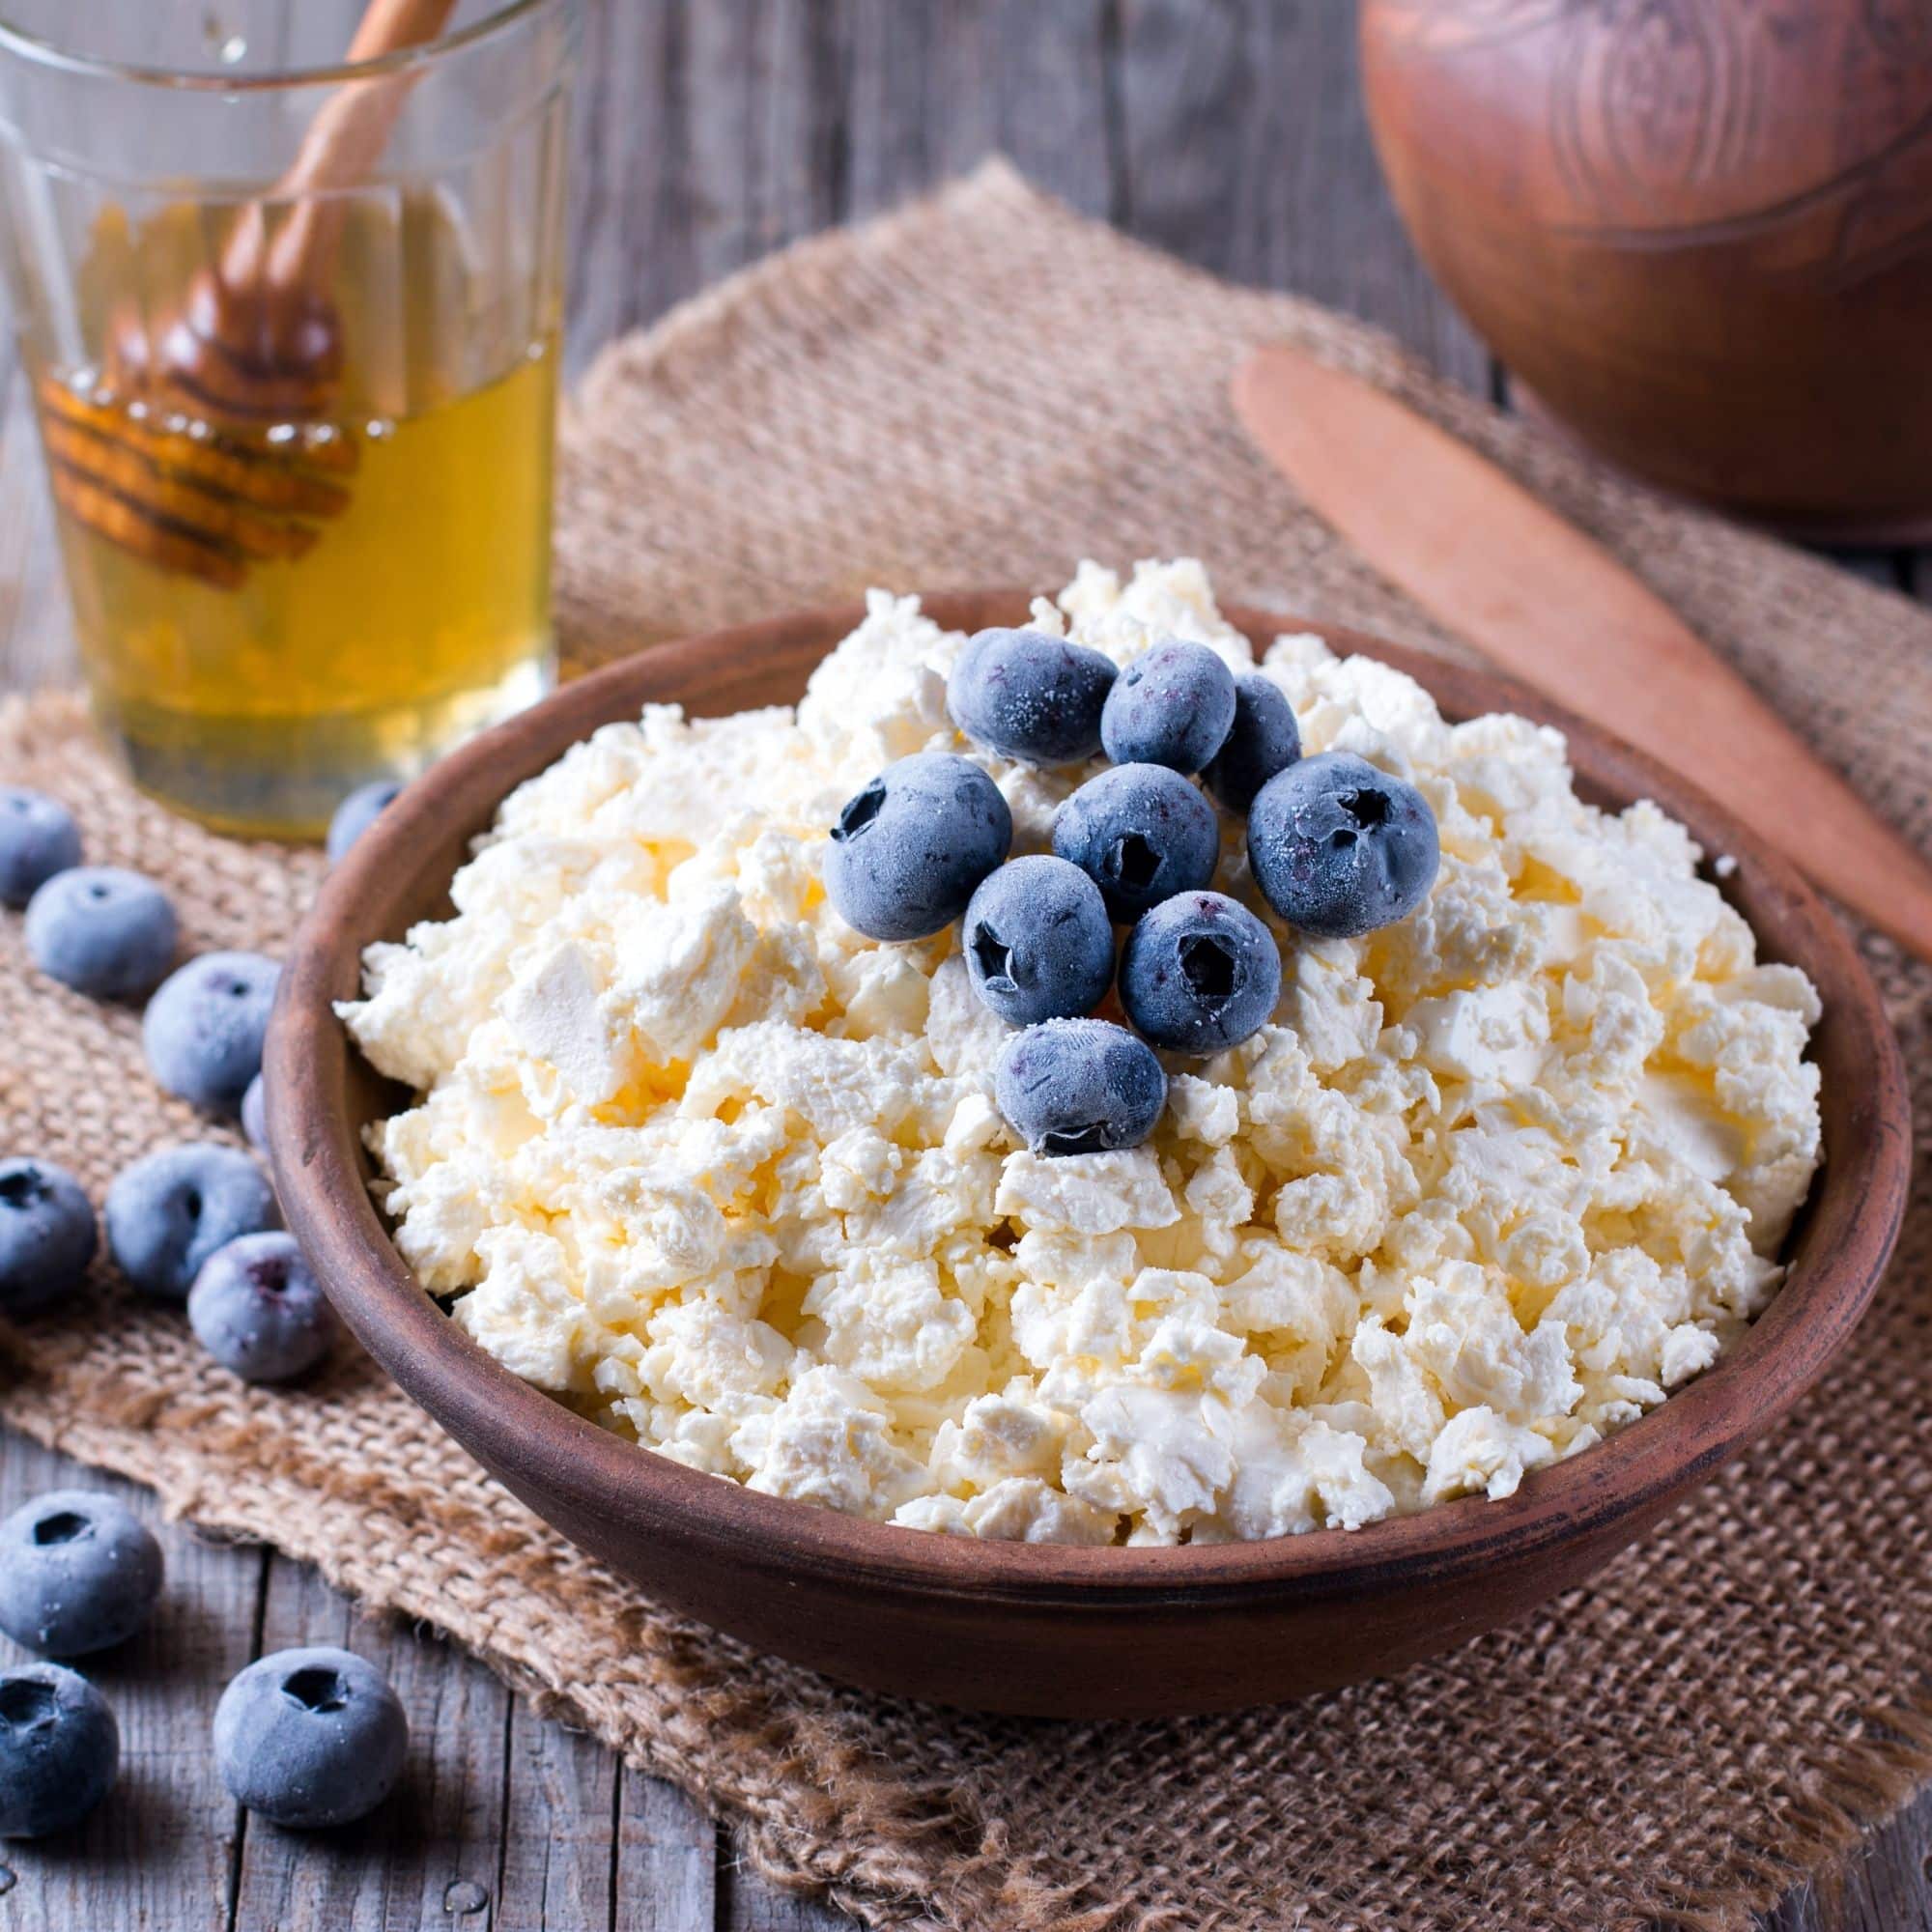
How to Freeze Cottage Cheese
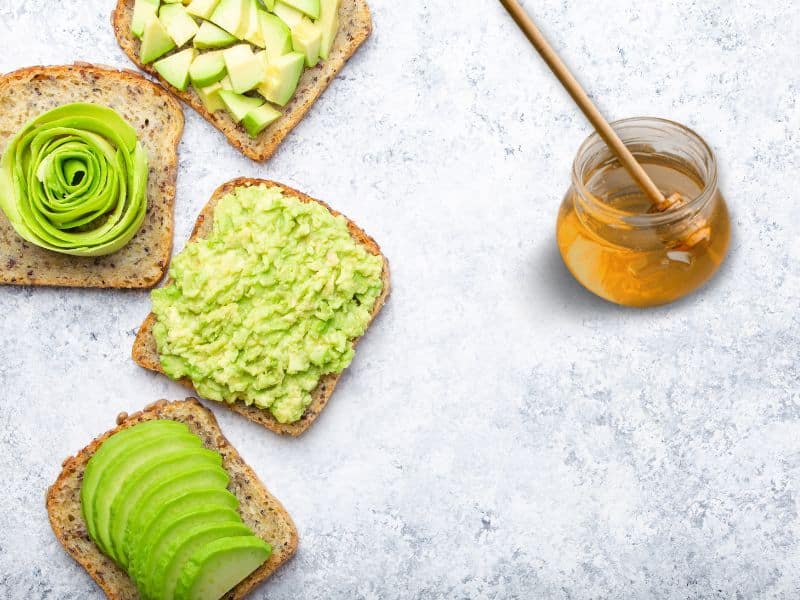
How to Make Avocado Toast with Honey (Easy Recipe)
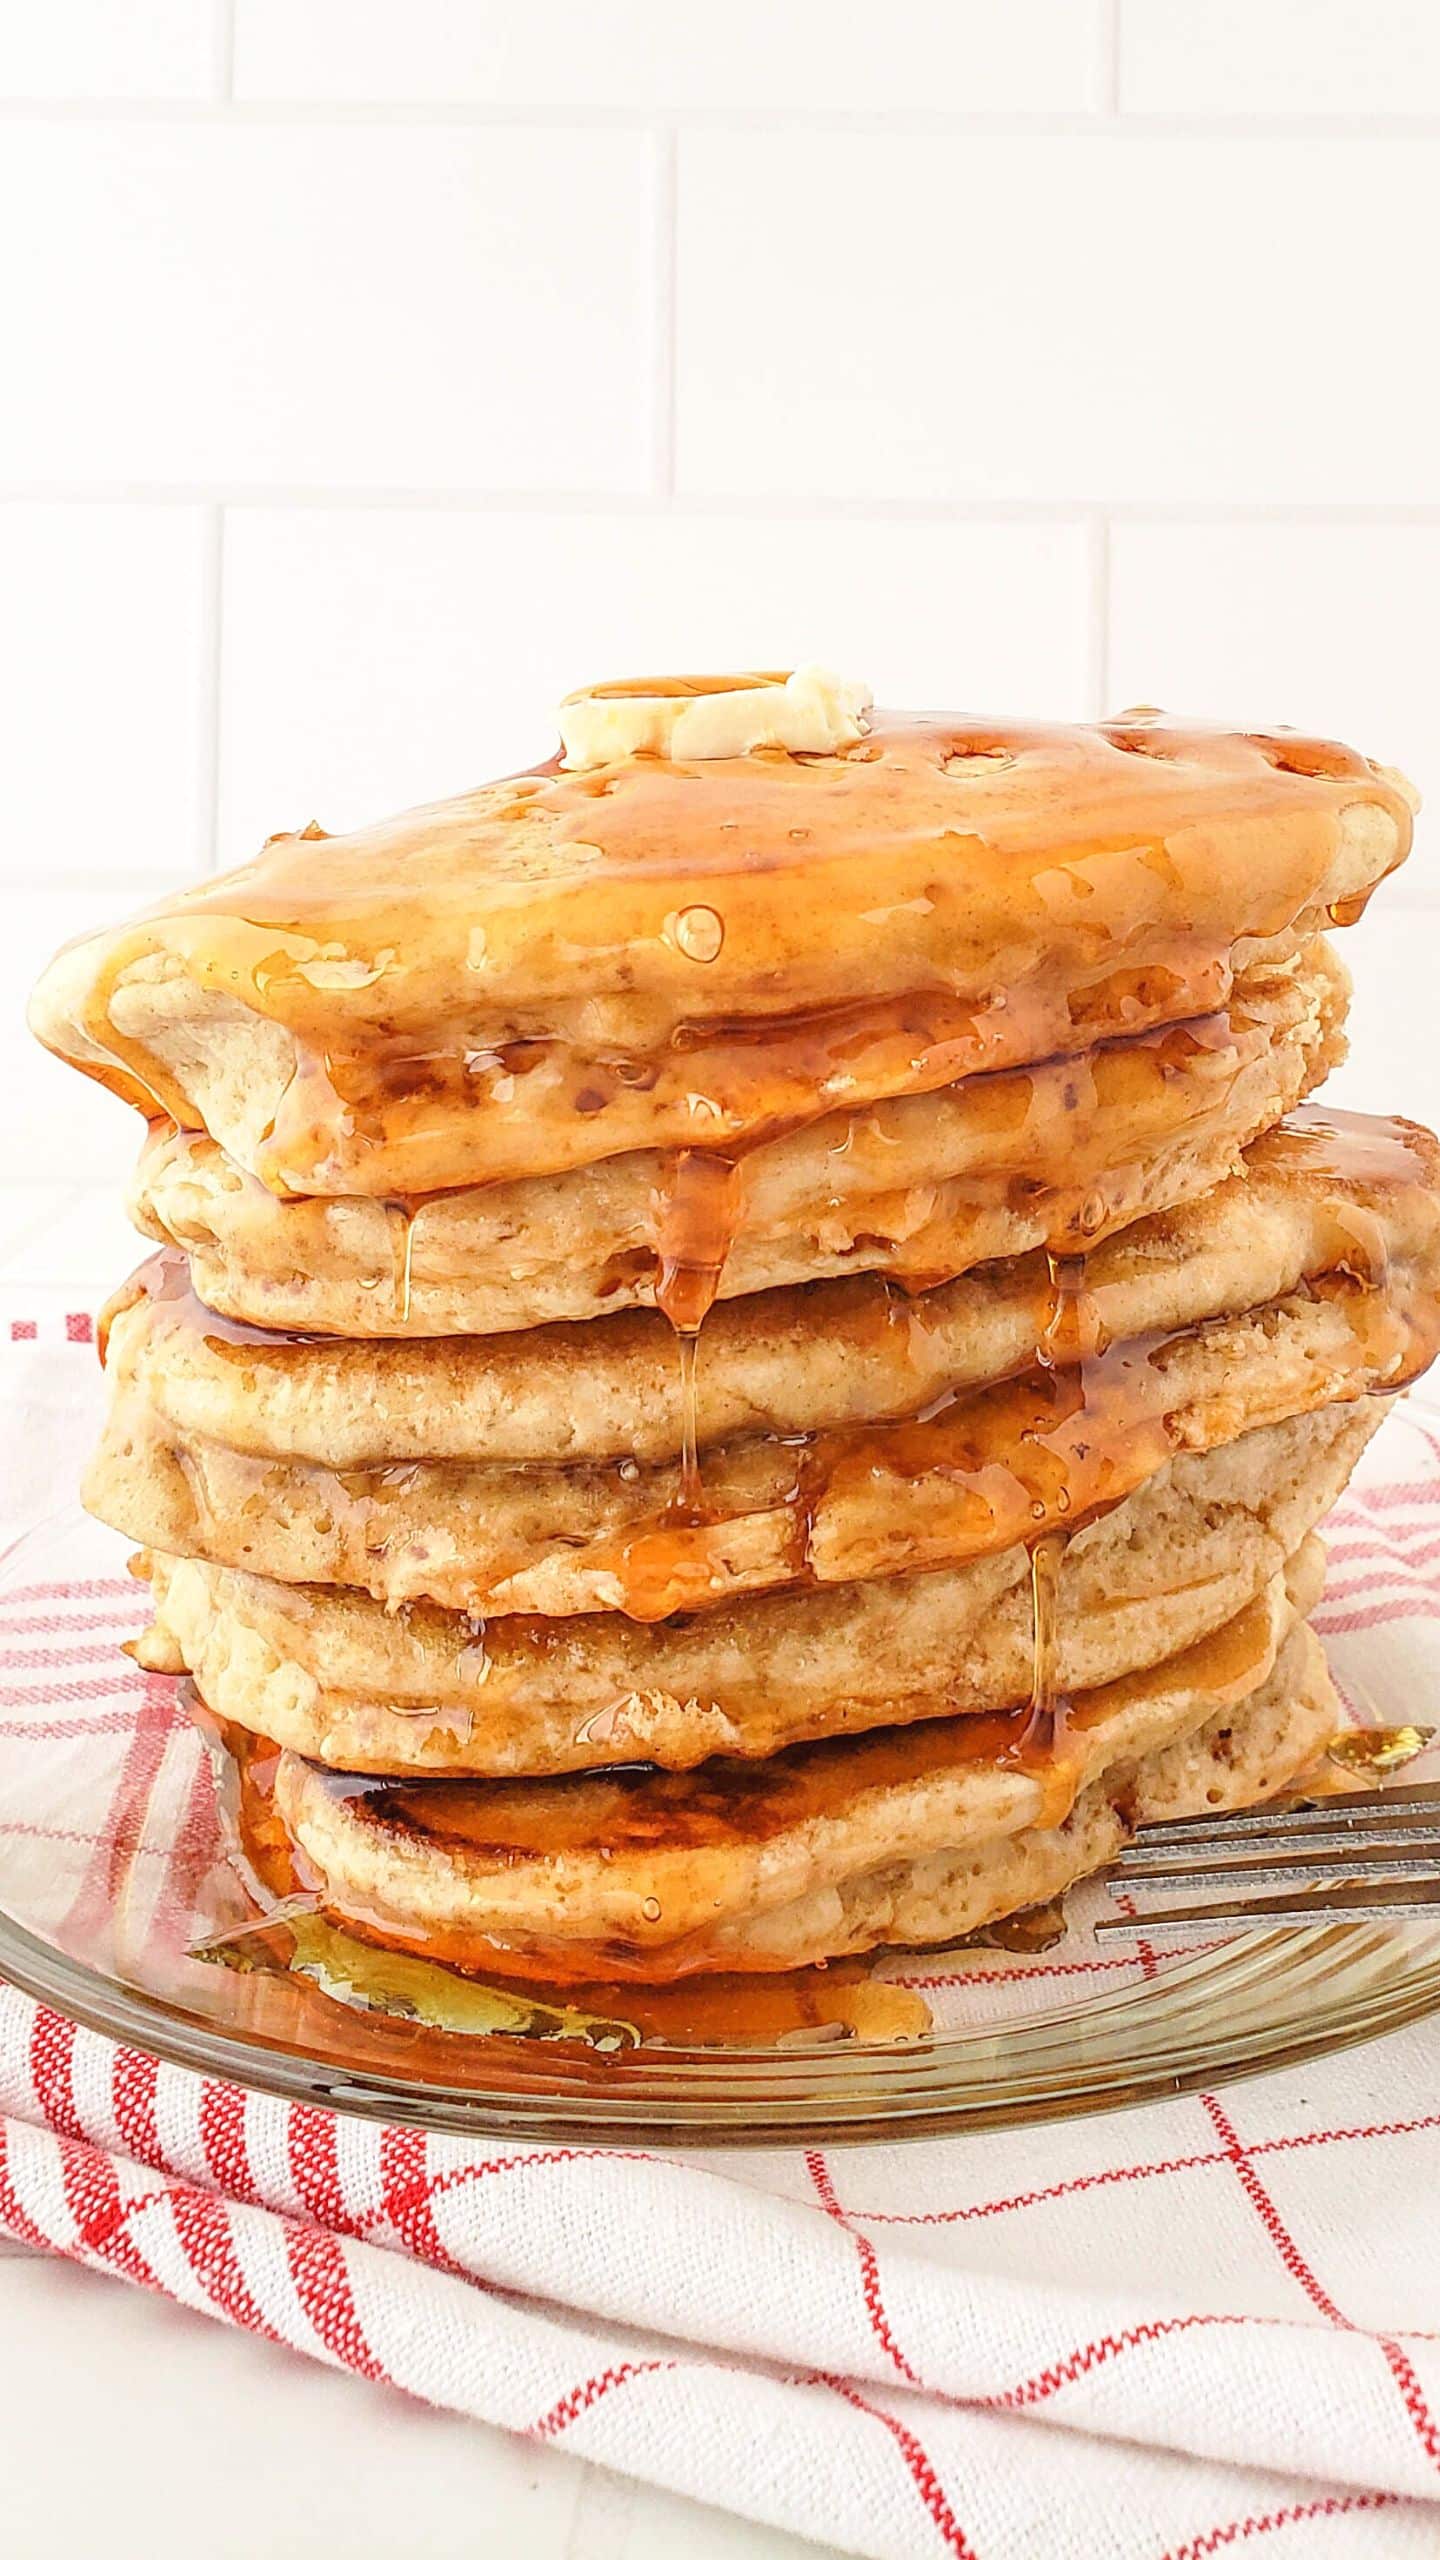
Easy Recipe for the Fluffiest Vegan Pancakes
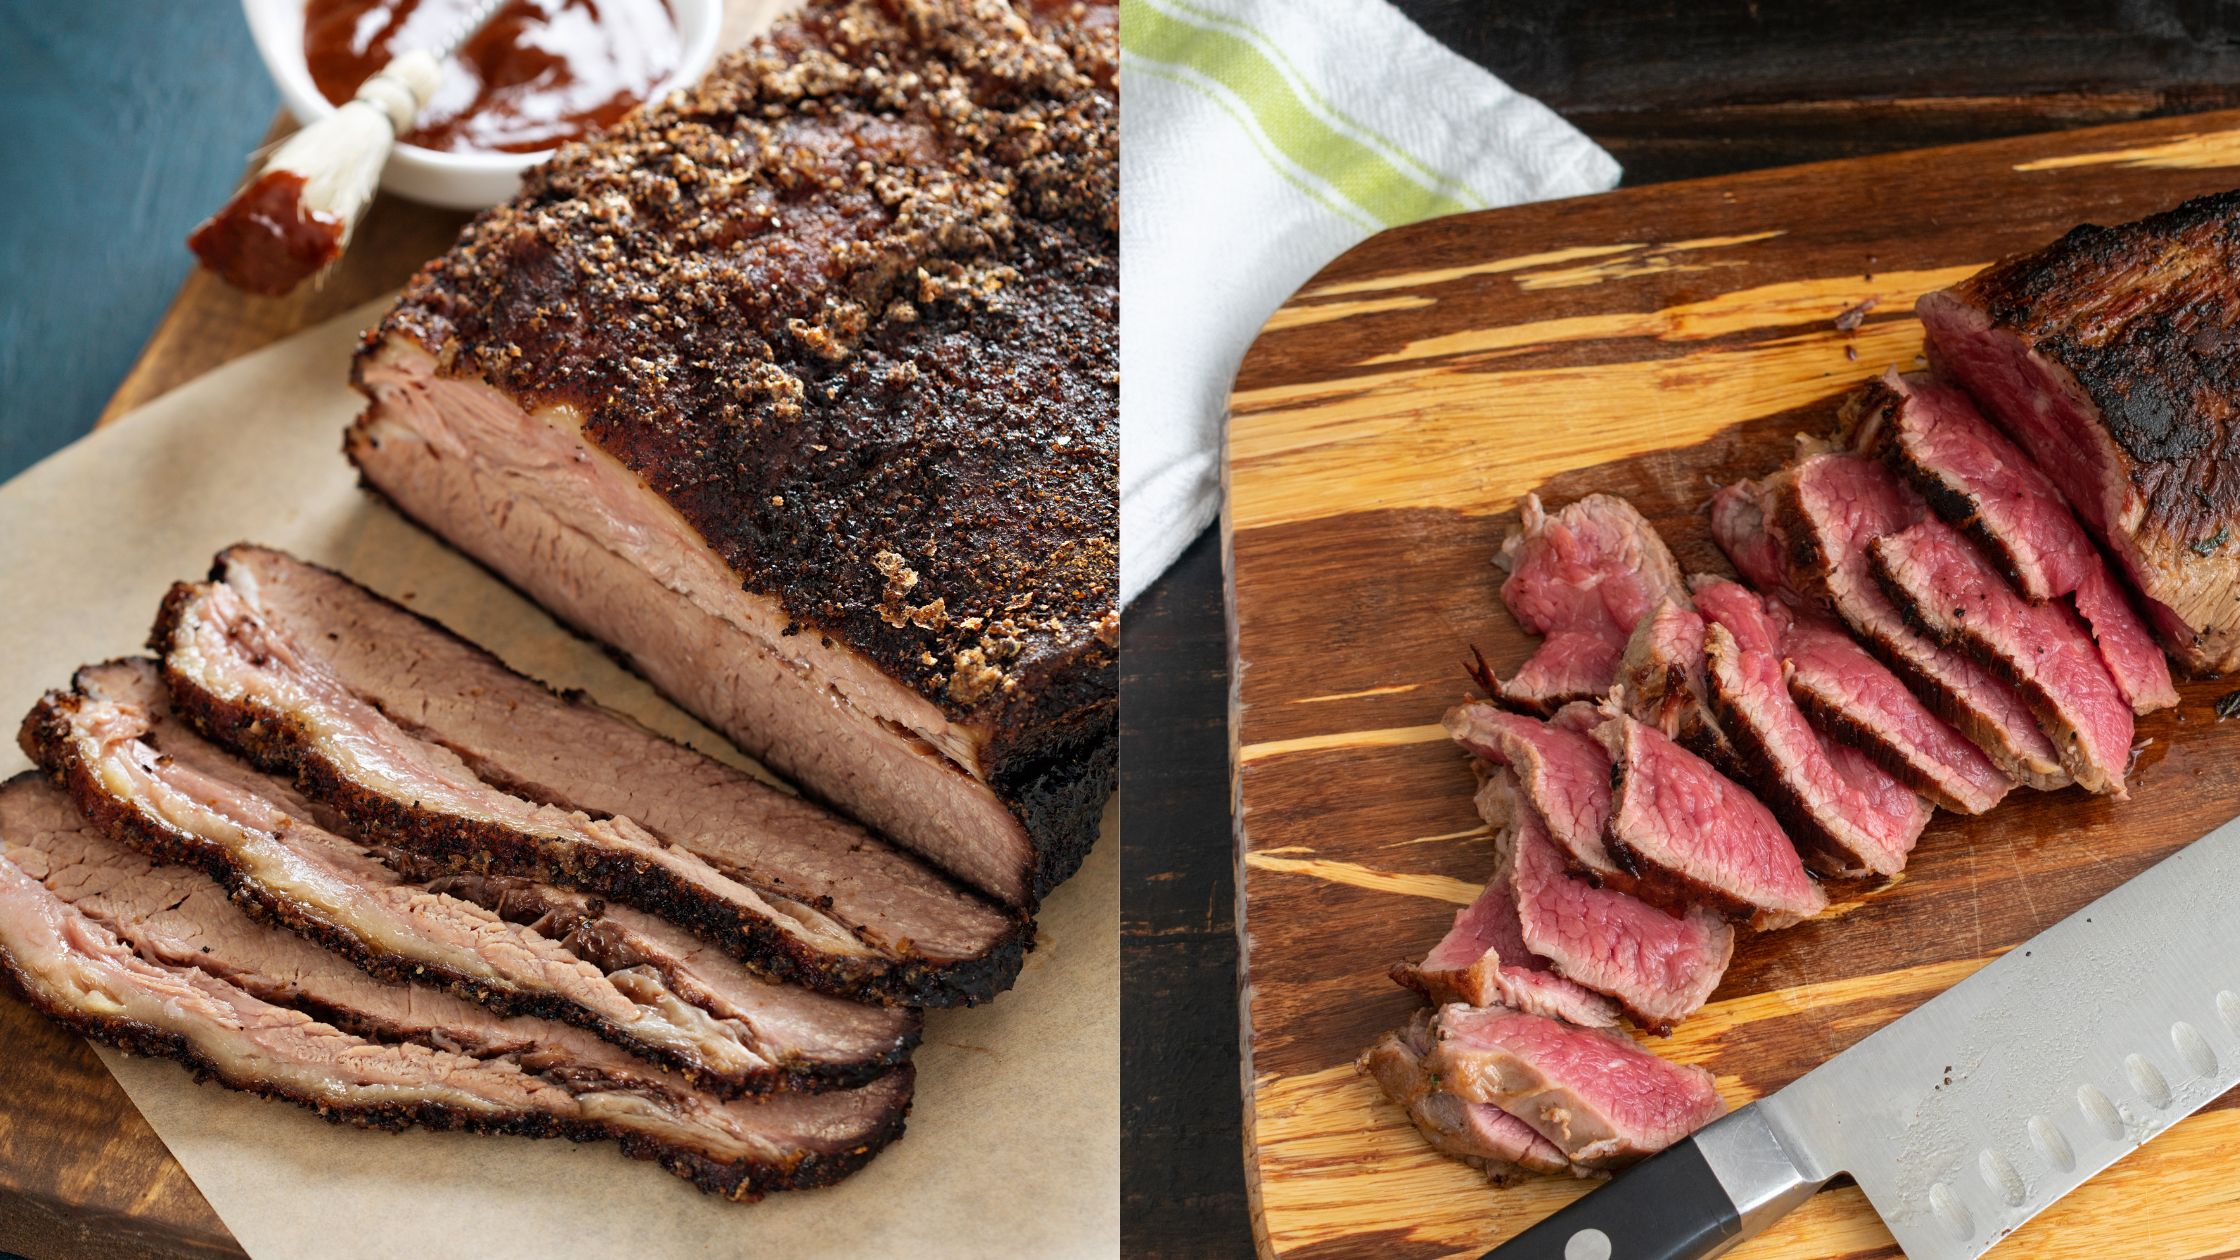
Tri Tip vs Brisket – Understanding the Differences
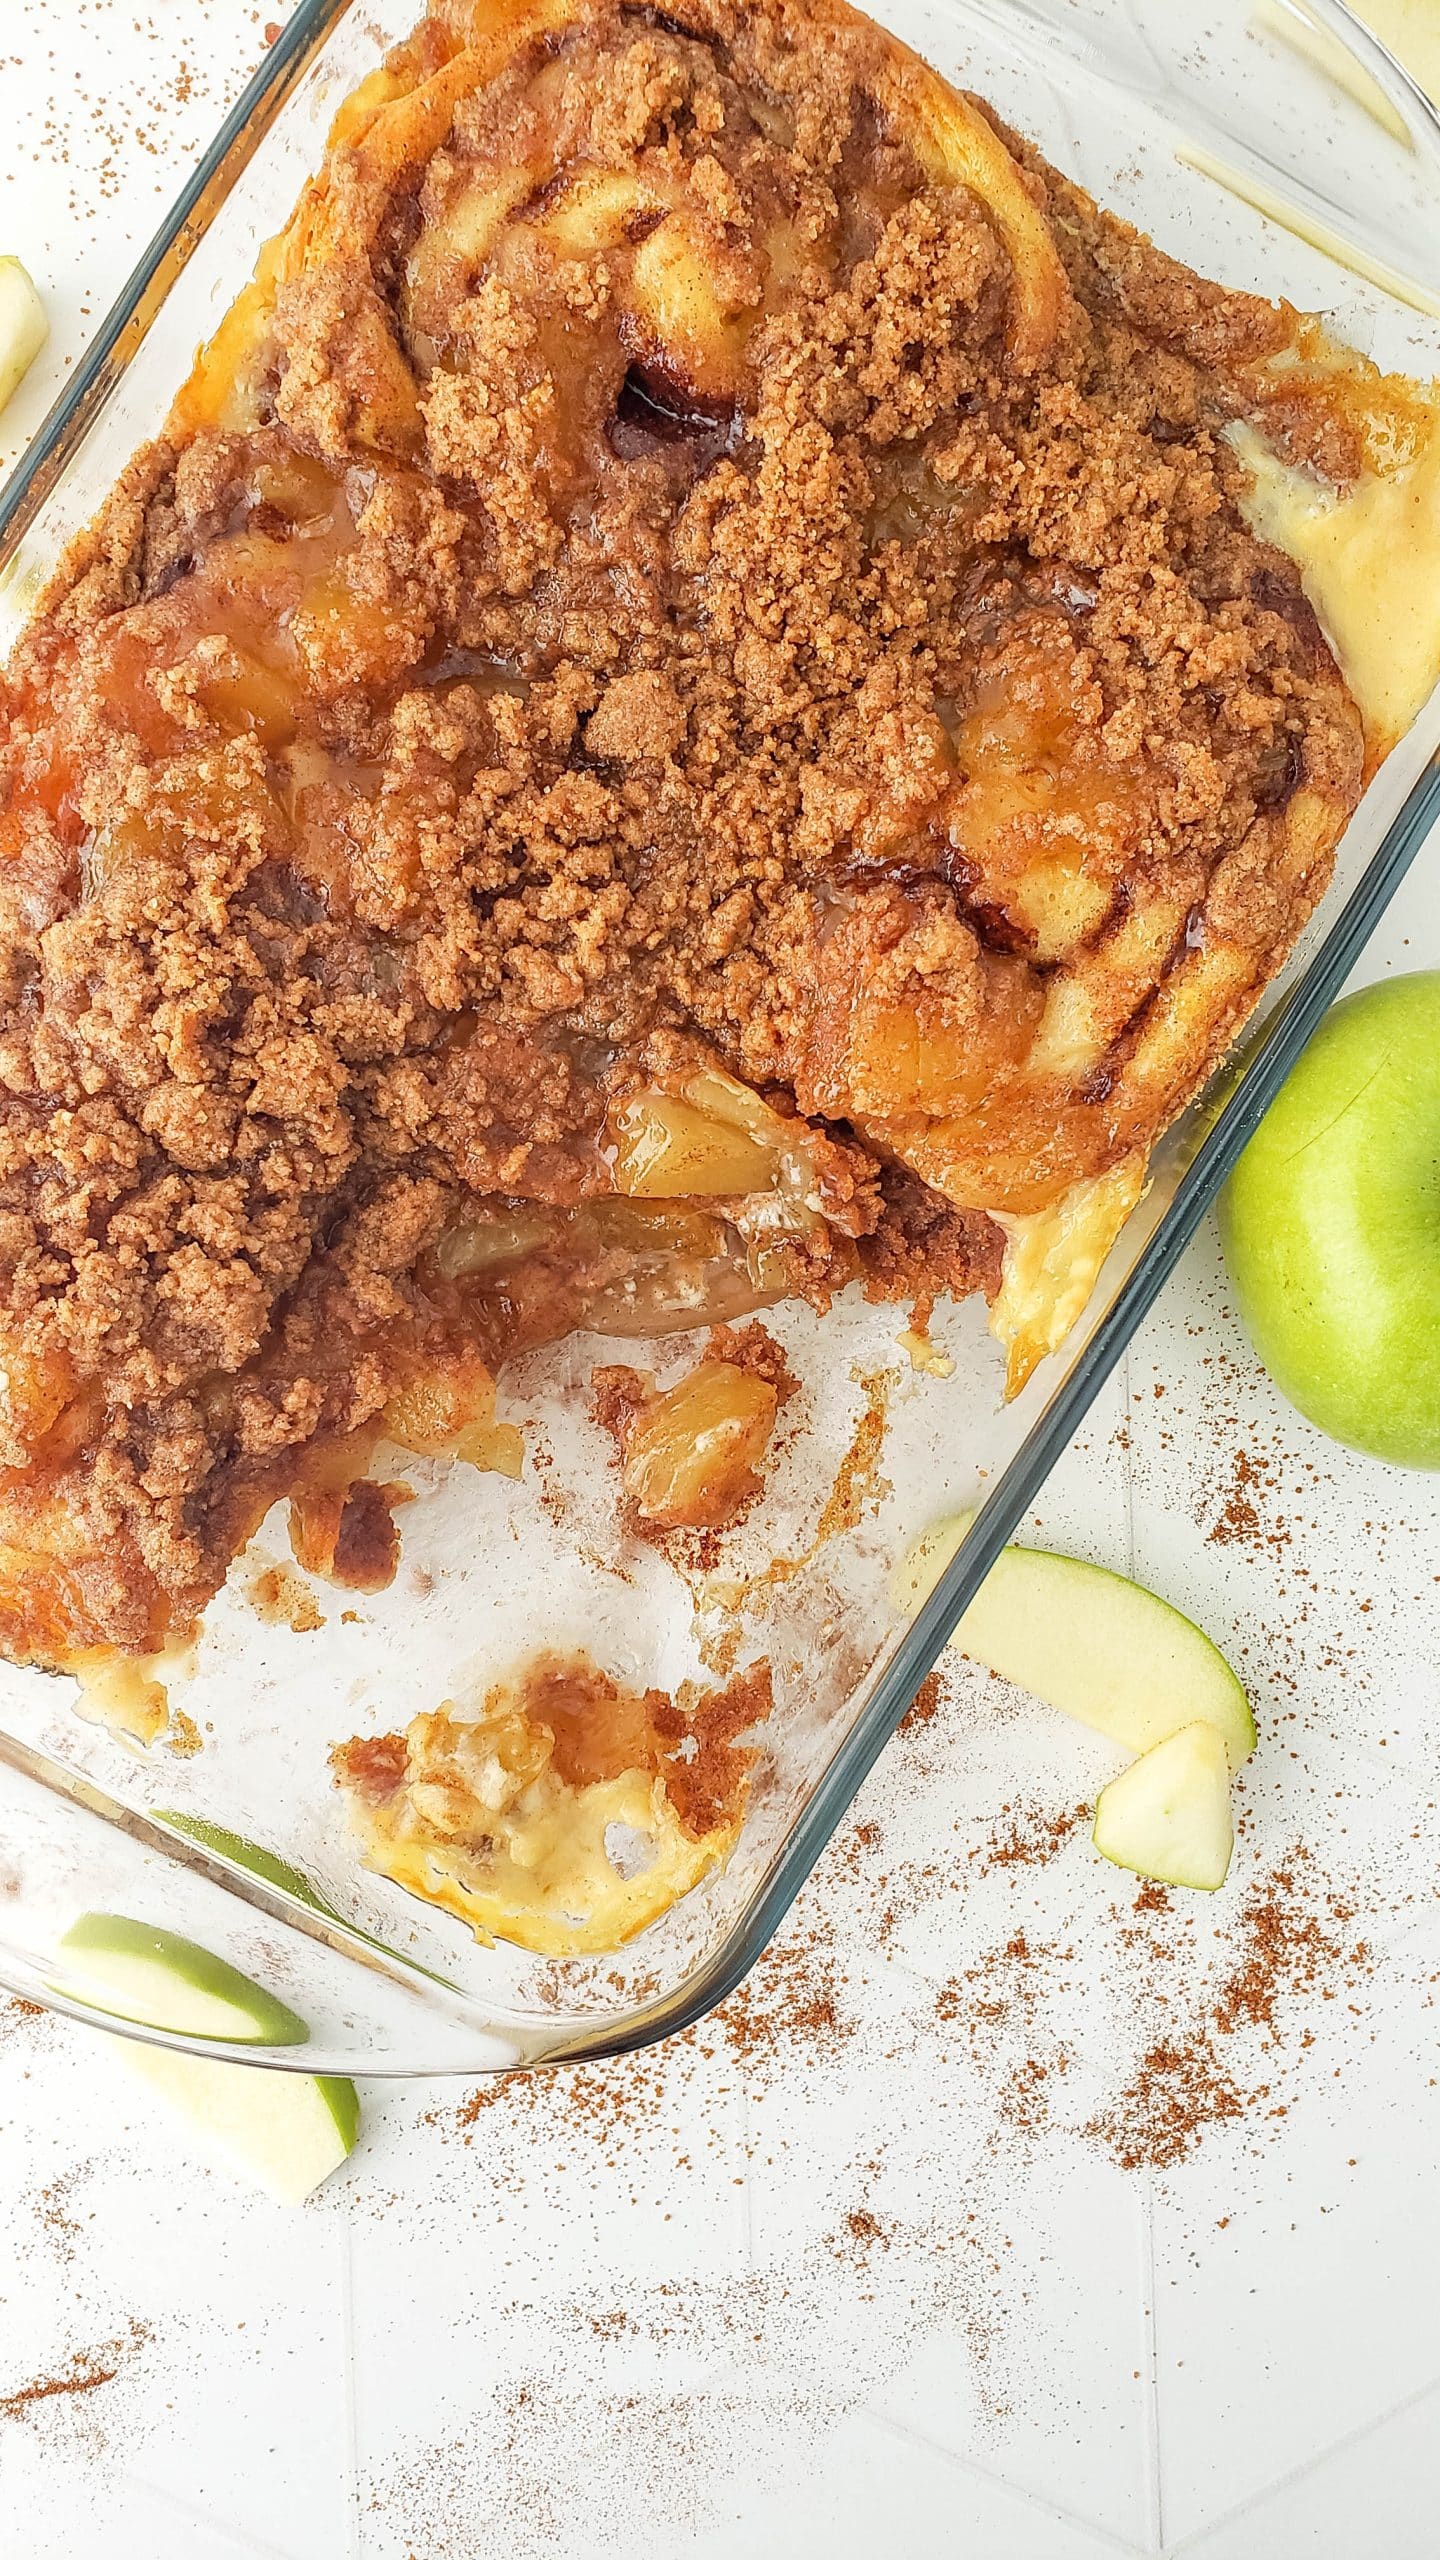
Semi Homemade Apple Cinnamon Rolls Recipe
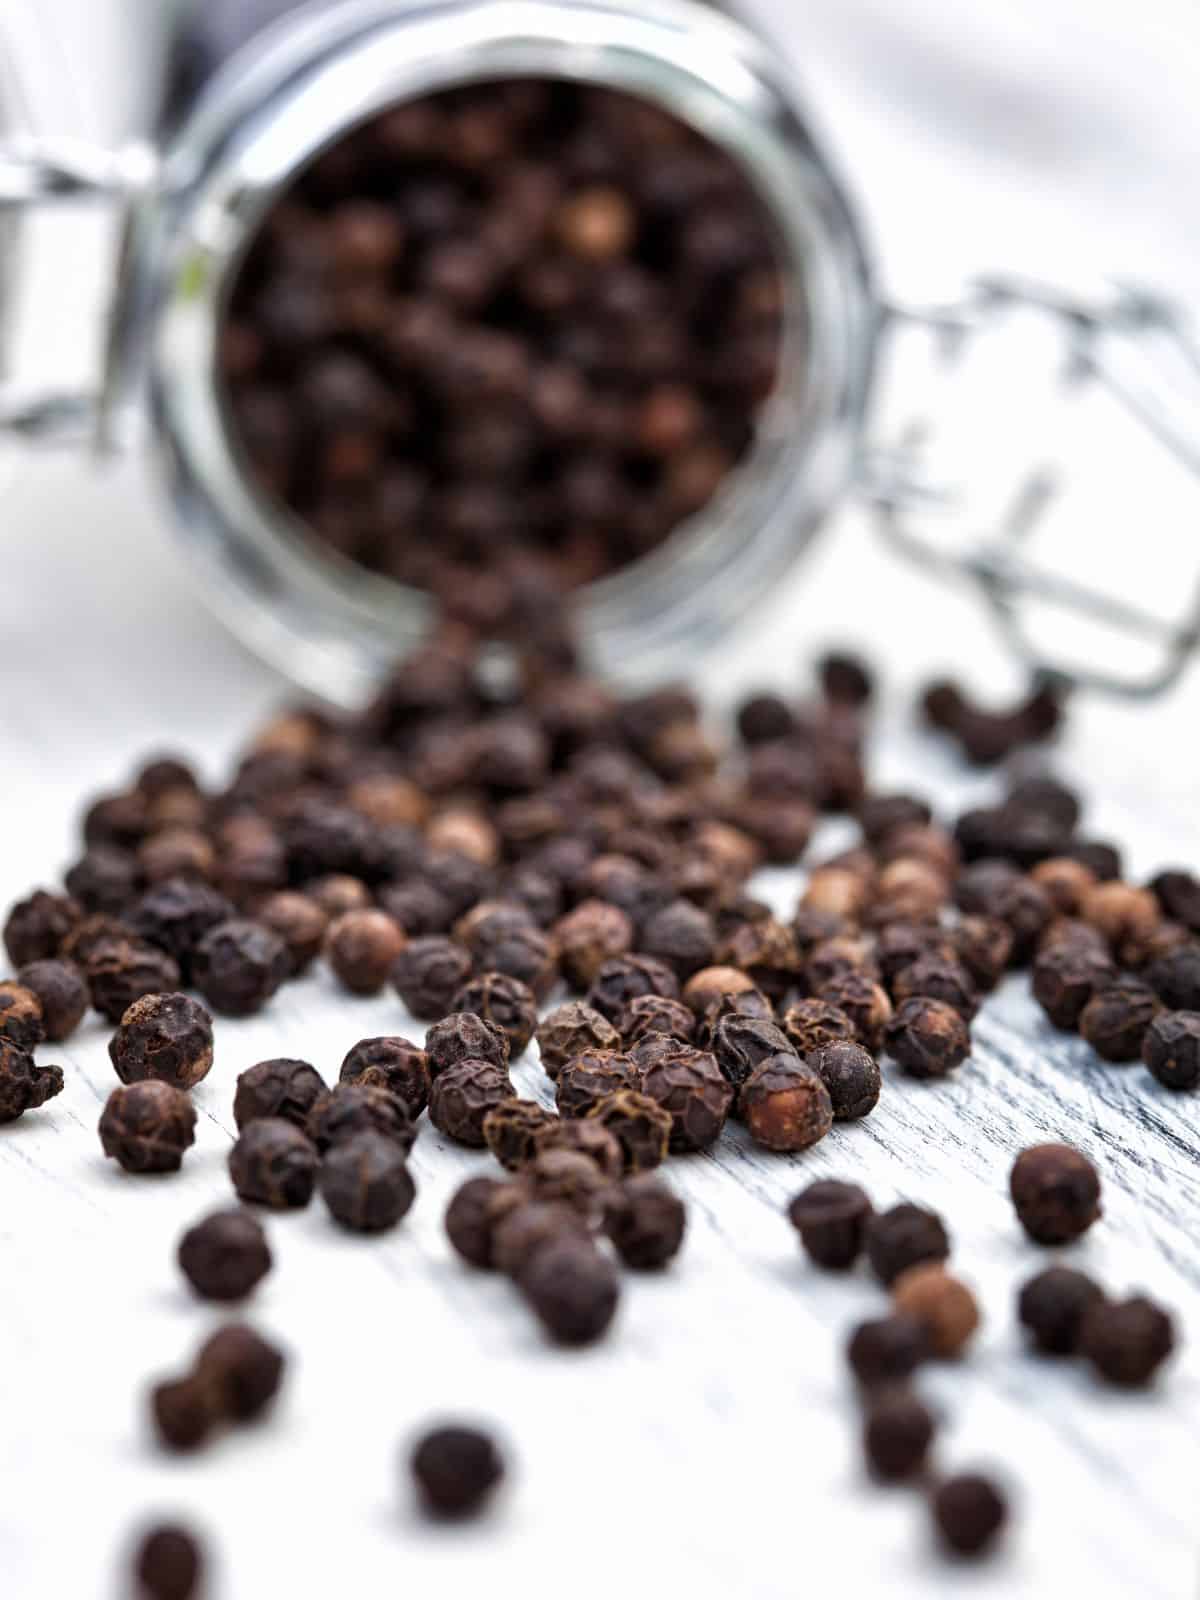
Do Peppercorns Go Bad?
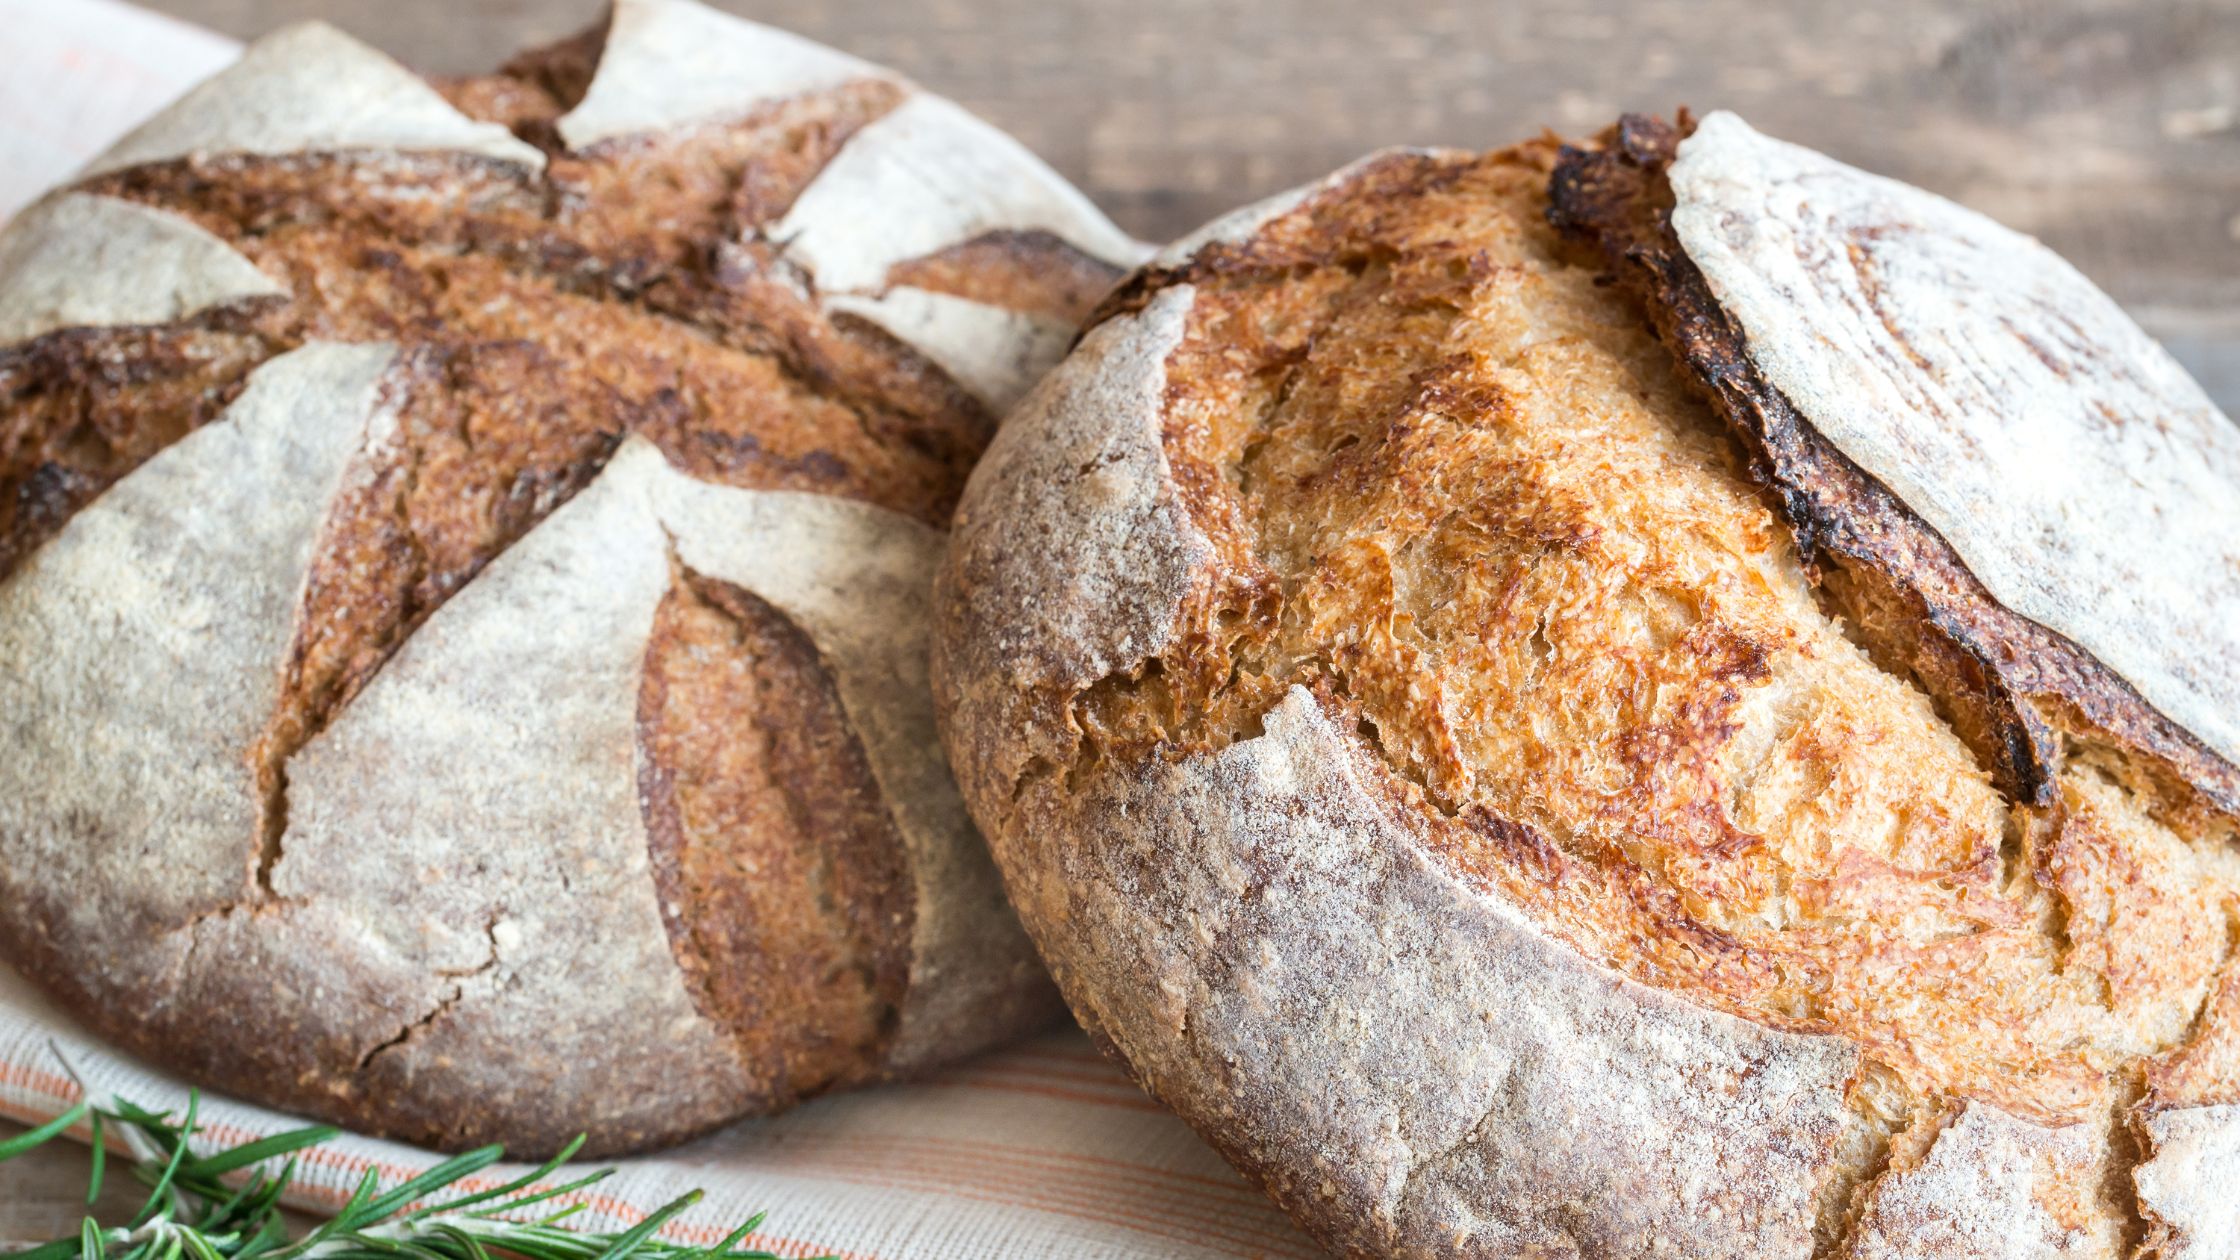
What Does Sourdough Bread Taste Like? Find Out Now!
Page navigation
1
2
3
…
5
Next Page
Next
All Recipes
Toggle child menu
Expand
Breakfast
Lunch
Dinner
Sides
Dessert
Summer
Fall
Toggle child menu
Expand
Halloween
Winter
Toggle child menu
Expand
Valentine’s Day
Christmas
Search
Search
Facebook
Instagram
Pinterest
Toggle Menu Close
Search for:
Search